You will need to plug your modem/router into your FTTP connection box.
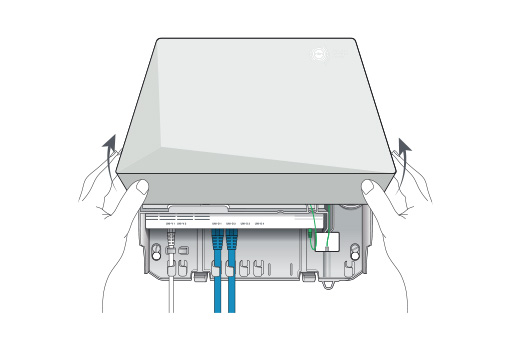
First, remove the cover on the FTTP connection box to access the ports on the bottom. There are three versions of the FTTP connection box that may be installed, and your setup may include one of the models shown below:
 Previous nbn connection box
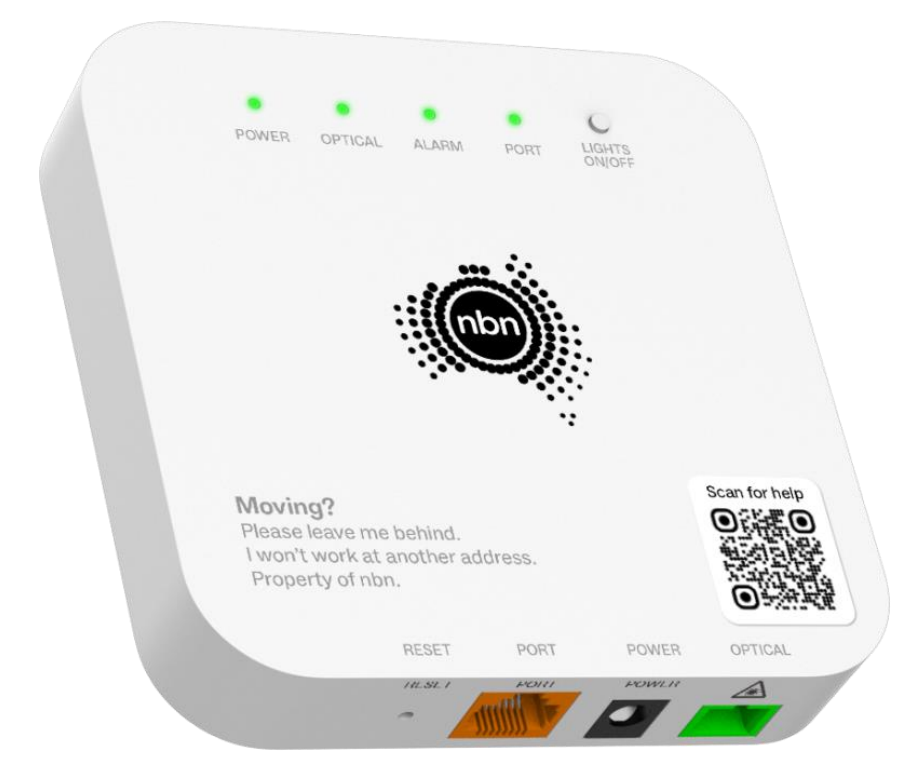
 FTTP connection box – one port
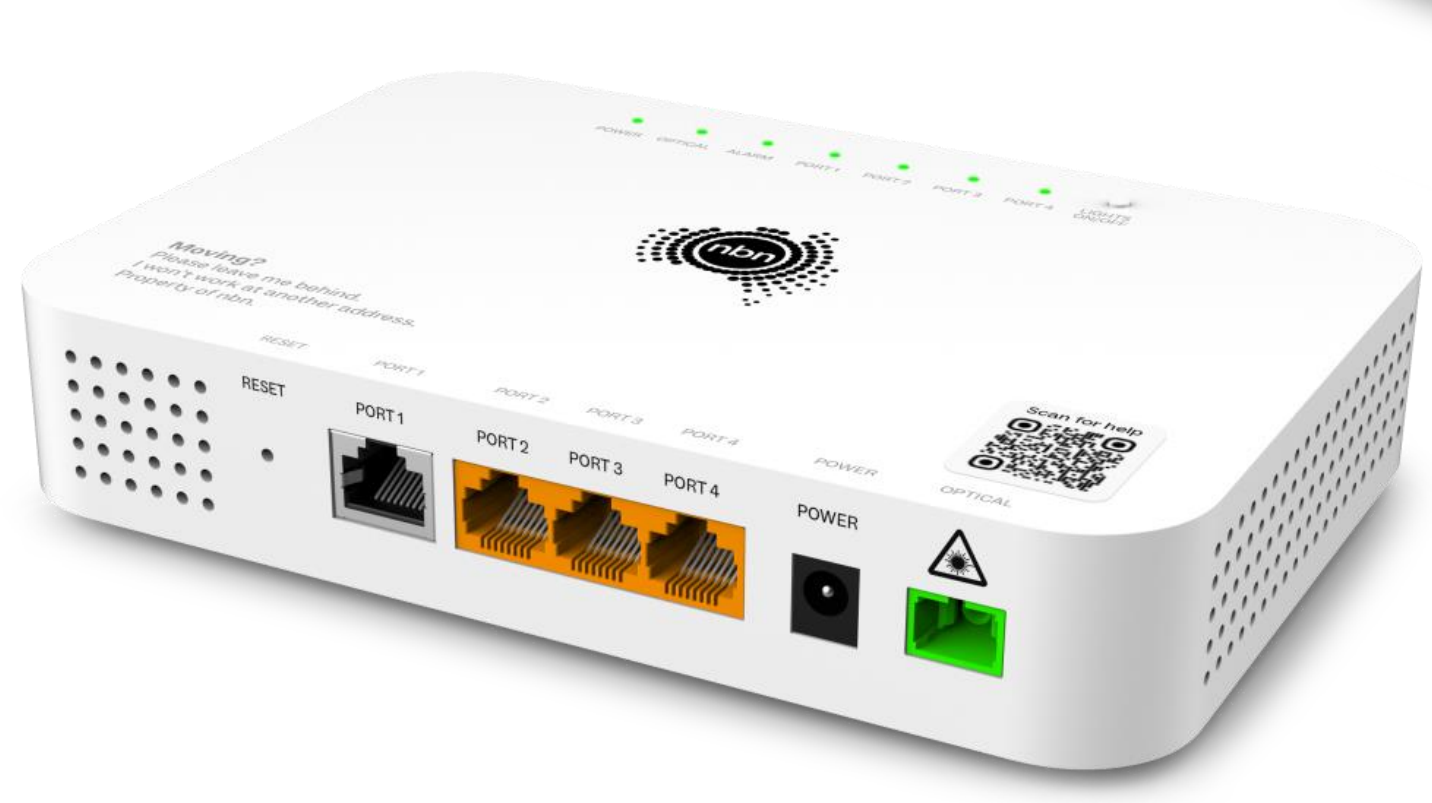
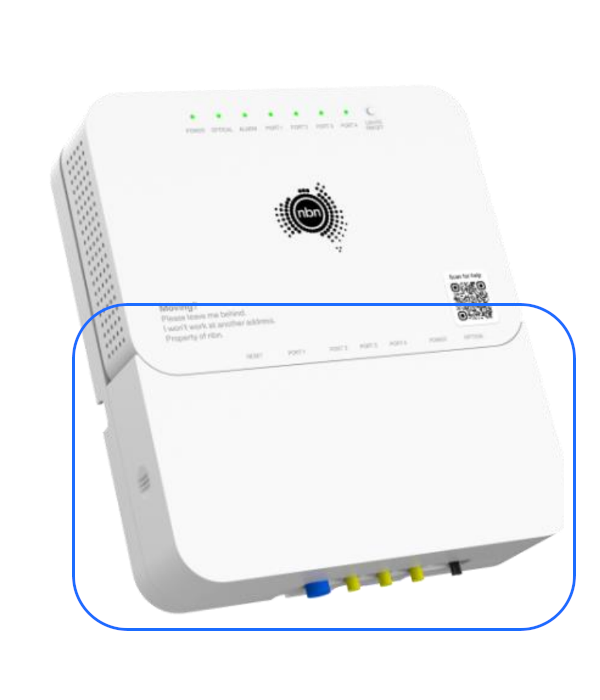 FTTP connection box – four port
Ensure that the included power cable from the power port on the FTTP connection box is plugged in and secure. Plug the other end of the power cable into a power wall outlet in your home and switch the powerpoint on.
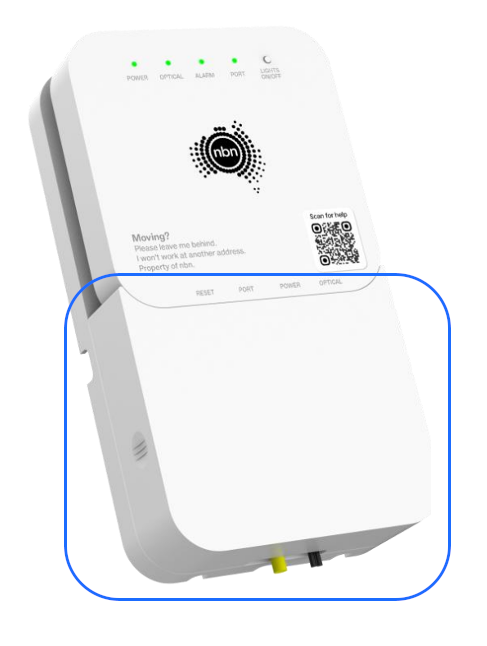
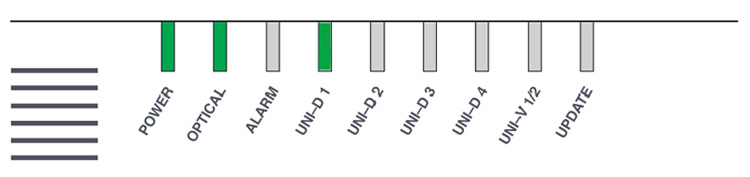
After a few minutes, you should notice the POWER and OPTICAL lights on the front of the NTD turn solid green. If you have a battery backup unit installed, the ALARM button may also be green.
 Previous nbn connection box
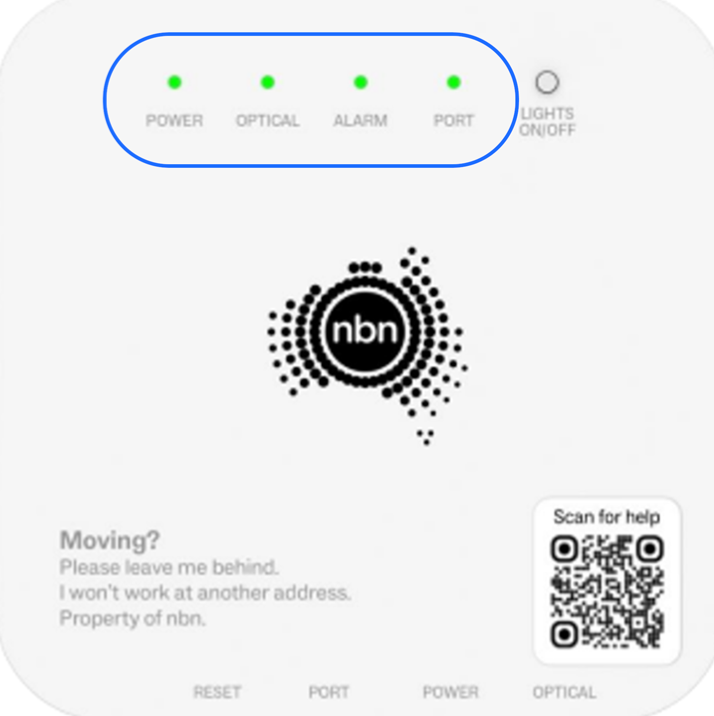 FTTP connection box – one port
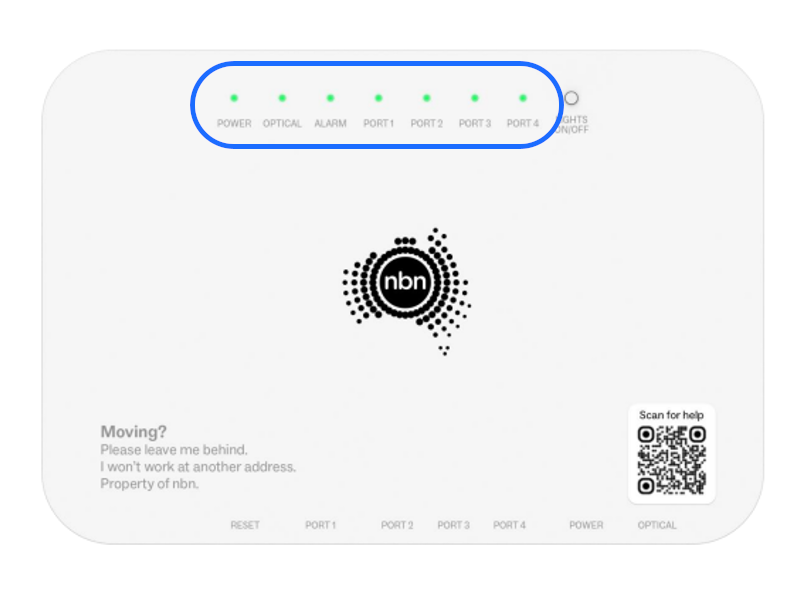 FTTP connection box – four port
💡 Just so you know: If the optical light on your FTTP connection box remains red or off, please
contact our support team for further troubleshooting.
Now, take your modem/router’s power supply cable and connect it to an electrical outlet. Switch the power outlet on.
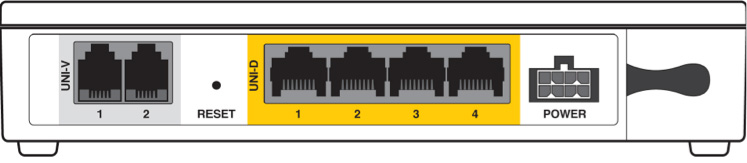
Take an Ethernet cable (typically blue, yellow, grey or white) and plug one end into the required port marked UNI-D or PORT on the back of the nbn FTTP connection box.
If you have an FTTP connection box with four ports, the active UNI-D/PORT would have been sent to you via email and SMS – in many cases, this is usually UNI-D/PORT 1 but may be another number such as UNI-D/PORT 2, UNI-D/PORT 3 or UNI-D/PORT 4.
 Previous nbn connection box
 FTTP connection box – one port
 FTTP connection box – four port
Plug the other end of this Ethernet cable into the WAN port on your modem/router. The WAN port may be labelled INTERNET, WAN/LAN or FIBRE depending on the make and model of your modem/router.