HOT OFFER! Save $20 per month for 5 months on selected nbn internet plans!...Use promo code SAVE20 at checkout!
More and more people are switching to wireless printers in their homes.
A wireless printer allows you to print from devices that are connected to your Internet via your Wi-Fi network. These devices include your mobile phone, tablet or laptop.
If you have purchased a wireless printer, it is important that you follow the instructions that came with the printer to set it up properly. Because even though there are some common steps, the instructions for setting up a printer may vary slightly based on the brand, design, or product number that you have purchased.
But to help you along the way, here are a few of the general steps associated with setting up a brand new wireless printer.
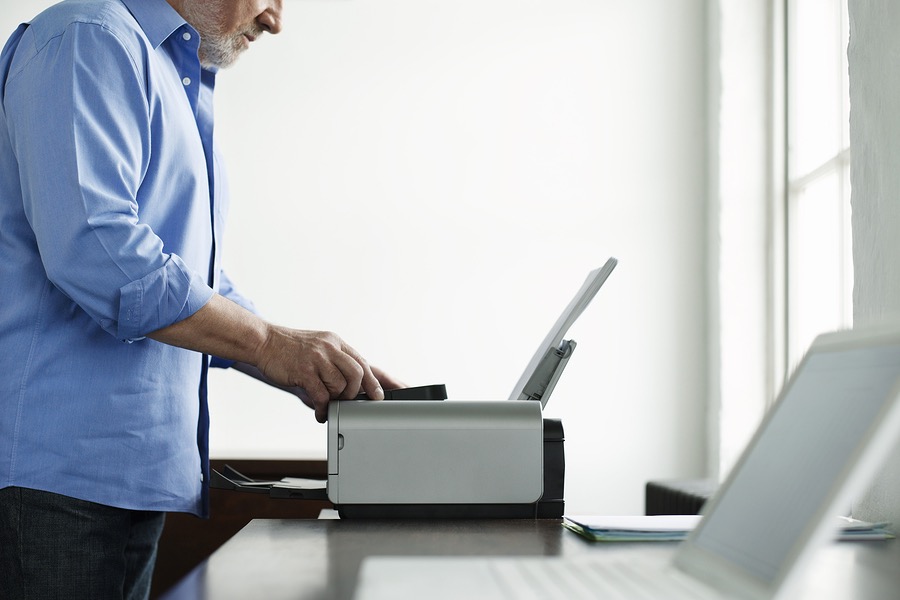
Physically set up the printer
The very first step to setting up a wireless printer is to find a place for it in your workspace or home. This includes taking the printer out of the box, placing it on a steady surface in the area you want the printer housed and plugging the printer in. Carefully consider where to place the printer. You don’t want to have to move it around, as you may have to re-set the printer if you unplug it and move it from one location to another. As well, consider choosing a central place so that Wi-Fi signals to the printer are not blocked by any walls.
One of the biggest misconceptions with wireless printers is that they themselves are wireless. A wireless printer is not wireless. It needs to be plugged into the wall in order to get the electricity that it needs to operate. A wireless printer basically means that the printer is not wired or connected to a computer through a USB cord, not that it doesn’t have any wires at all.
Connect the printer to your wi-fi network
After your printer is set-up and powered, follow the directions from the manufacturer to connect it to your Wi-Fi network. Wireless printers have a button that needs to be pressed and/or held to help it pair with your router. The router may also have a button that needs to be pressed and/or held to help it connect at the same time.
You will be prompted to enter your Wi-Fi password as the printer tries to connect to the network, so have this handy. Follow the manufacturer’s directions for your printer to input the password. If you successfully connect then the wireless printer should have a light on it that lets you know that the two devices are paired and you’re online.
Test out the printer
The last step to setting up a wireless printer is to test it out. Hop on the internet on one of your wireless devices and attempt to print. When you click print, it should give you the option of printing on your wireless printer. If you do not see the wireless printer listed as an option, your printer is not correctly set up. If you do see it listed as an option, select that option and see if it prints. If everything is on track then your page should print out as expected. Alternatively, if your wireless printer is not correctly set up and you do not see it as an option or nothing prints out, you may need to troubleshoot using your printer’s user manual or contacting the manufacturer’s support team.
Looking for a new internet provider to support your wireless printer? Get in touch with the least clingy Aussie-made ISP on the market here!